Through the Looking Glass

A treasure trove goodie box of old eyepieces and trinkets…

Along with the 1930’s scope I inherited came a box of old oculars, lenses, prisms and gadgets whose purpose remains unidentified……

IMG_3543

The two big wooden boxes contain  eyepieces, with some adapters but unfortunately not in any size I recognize as being of the 0.96in or 1.25in standard. They must be from around the 1930’s when the scope was being used. That’s a fisherman’s knife in there also. Still has a nice sharp edge. There are boxes filled with tiny lenses, prisms, filters and brass odds and sods.


IMG_3551 IMG_3544

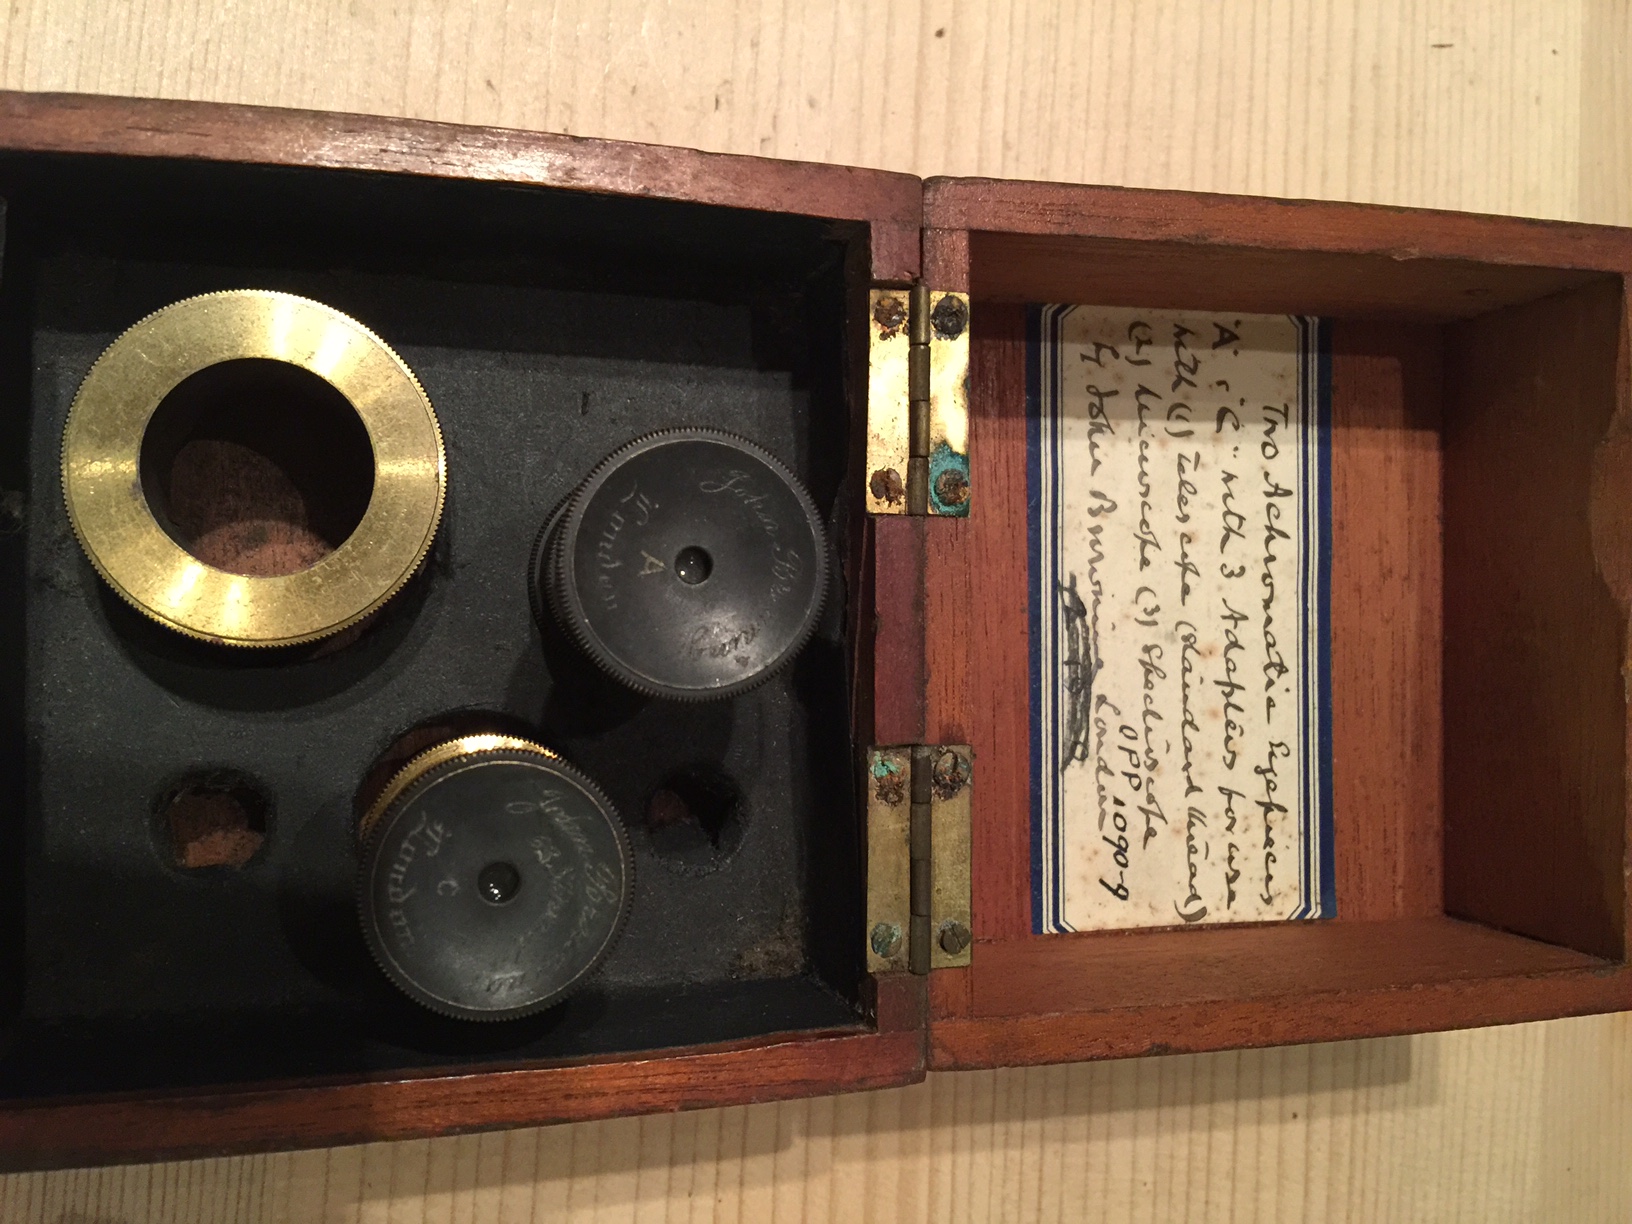
The text on the inside of the box reads  ” Two Achromatic eyepieces ‘A’ & ‘C’  with 3 adapters for use with (1) Telescope (standard thread) (2) xxxxxxxxxscope   (3) xxxxxxxxscope. John Brunnings London.”

I can’t read the prefix on ‘scope’ for 2/3.. can anyone hazard a guess?

EDIT!!  A kind reader had informed me (2) is ‘spectroscope’ and (3) is ‘microscope’. The strange looking oblong eyepiece is in fact a Filar Micrometer for measuring for example star separation of binaries.

There’s a solar eyepiece also with a heavily blackened optical surface but I don’t think i’ll use this on my 20in Dobsonian. It might start a singularity, or a least burn a hole through the back of my skull.


The only eyepieces coming close to a recognizable size are the 1-1/8in ones. 0.96in was a recognized standard but none of these are that either.

Being of the curious mind type, I dug around the web and found this catalog from the ‘manufacturer’ or at least the supplier of these oculars which I suspect are Achromatic Ramsden’s. Brunnings, London of Holborn was a family run business stocking cameras, telescopes, mirror sets amongst many other optical products. Established in 1921 it appears to have been run by the Brunning family right until it’s demise in 1982.

HolbornsBRUNNINGS

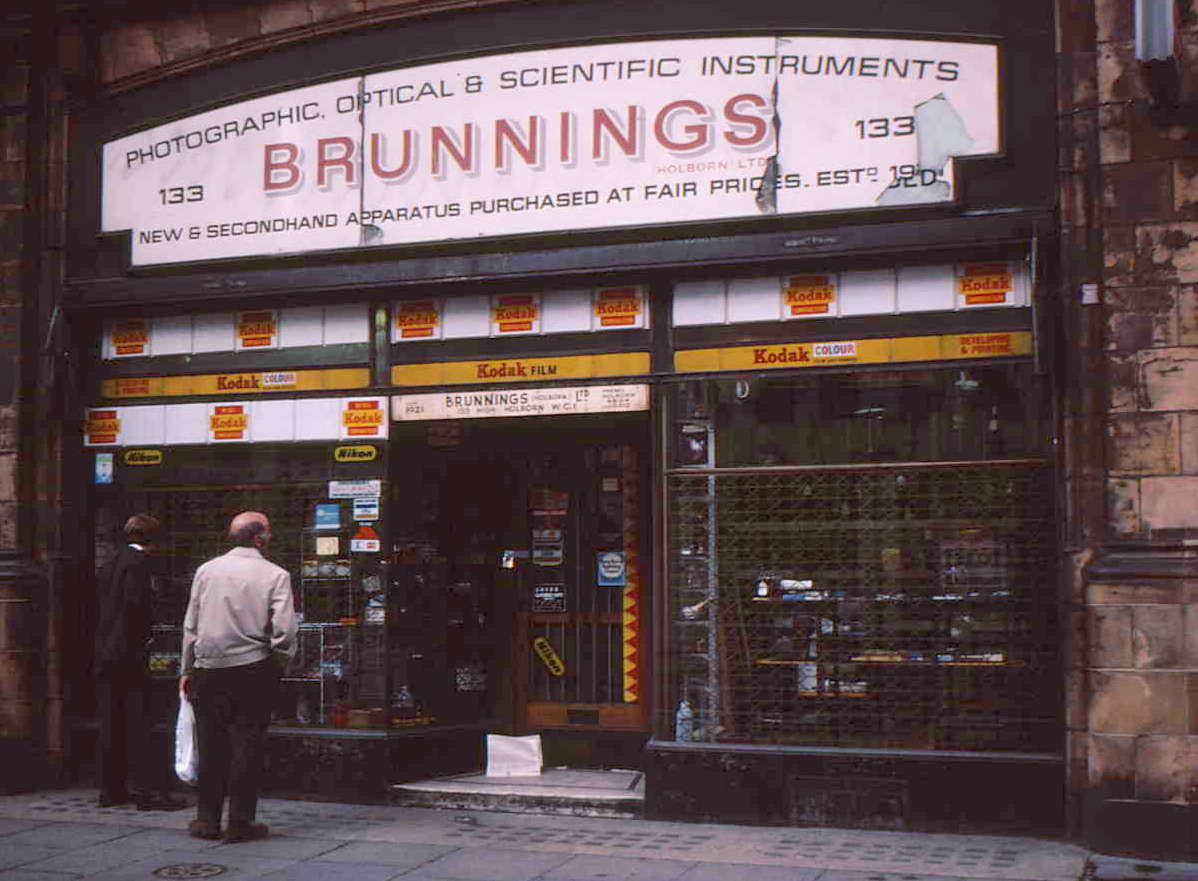
The above link was from their final catalog but my eyepieces, despite being marked ‘Brunning’s’ appear to be a lot older and not of any current standard fitting.


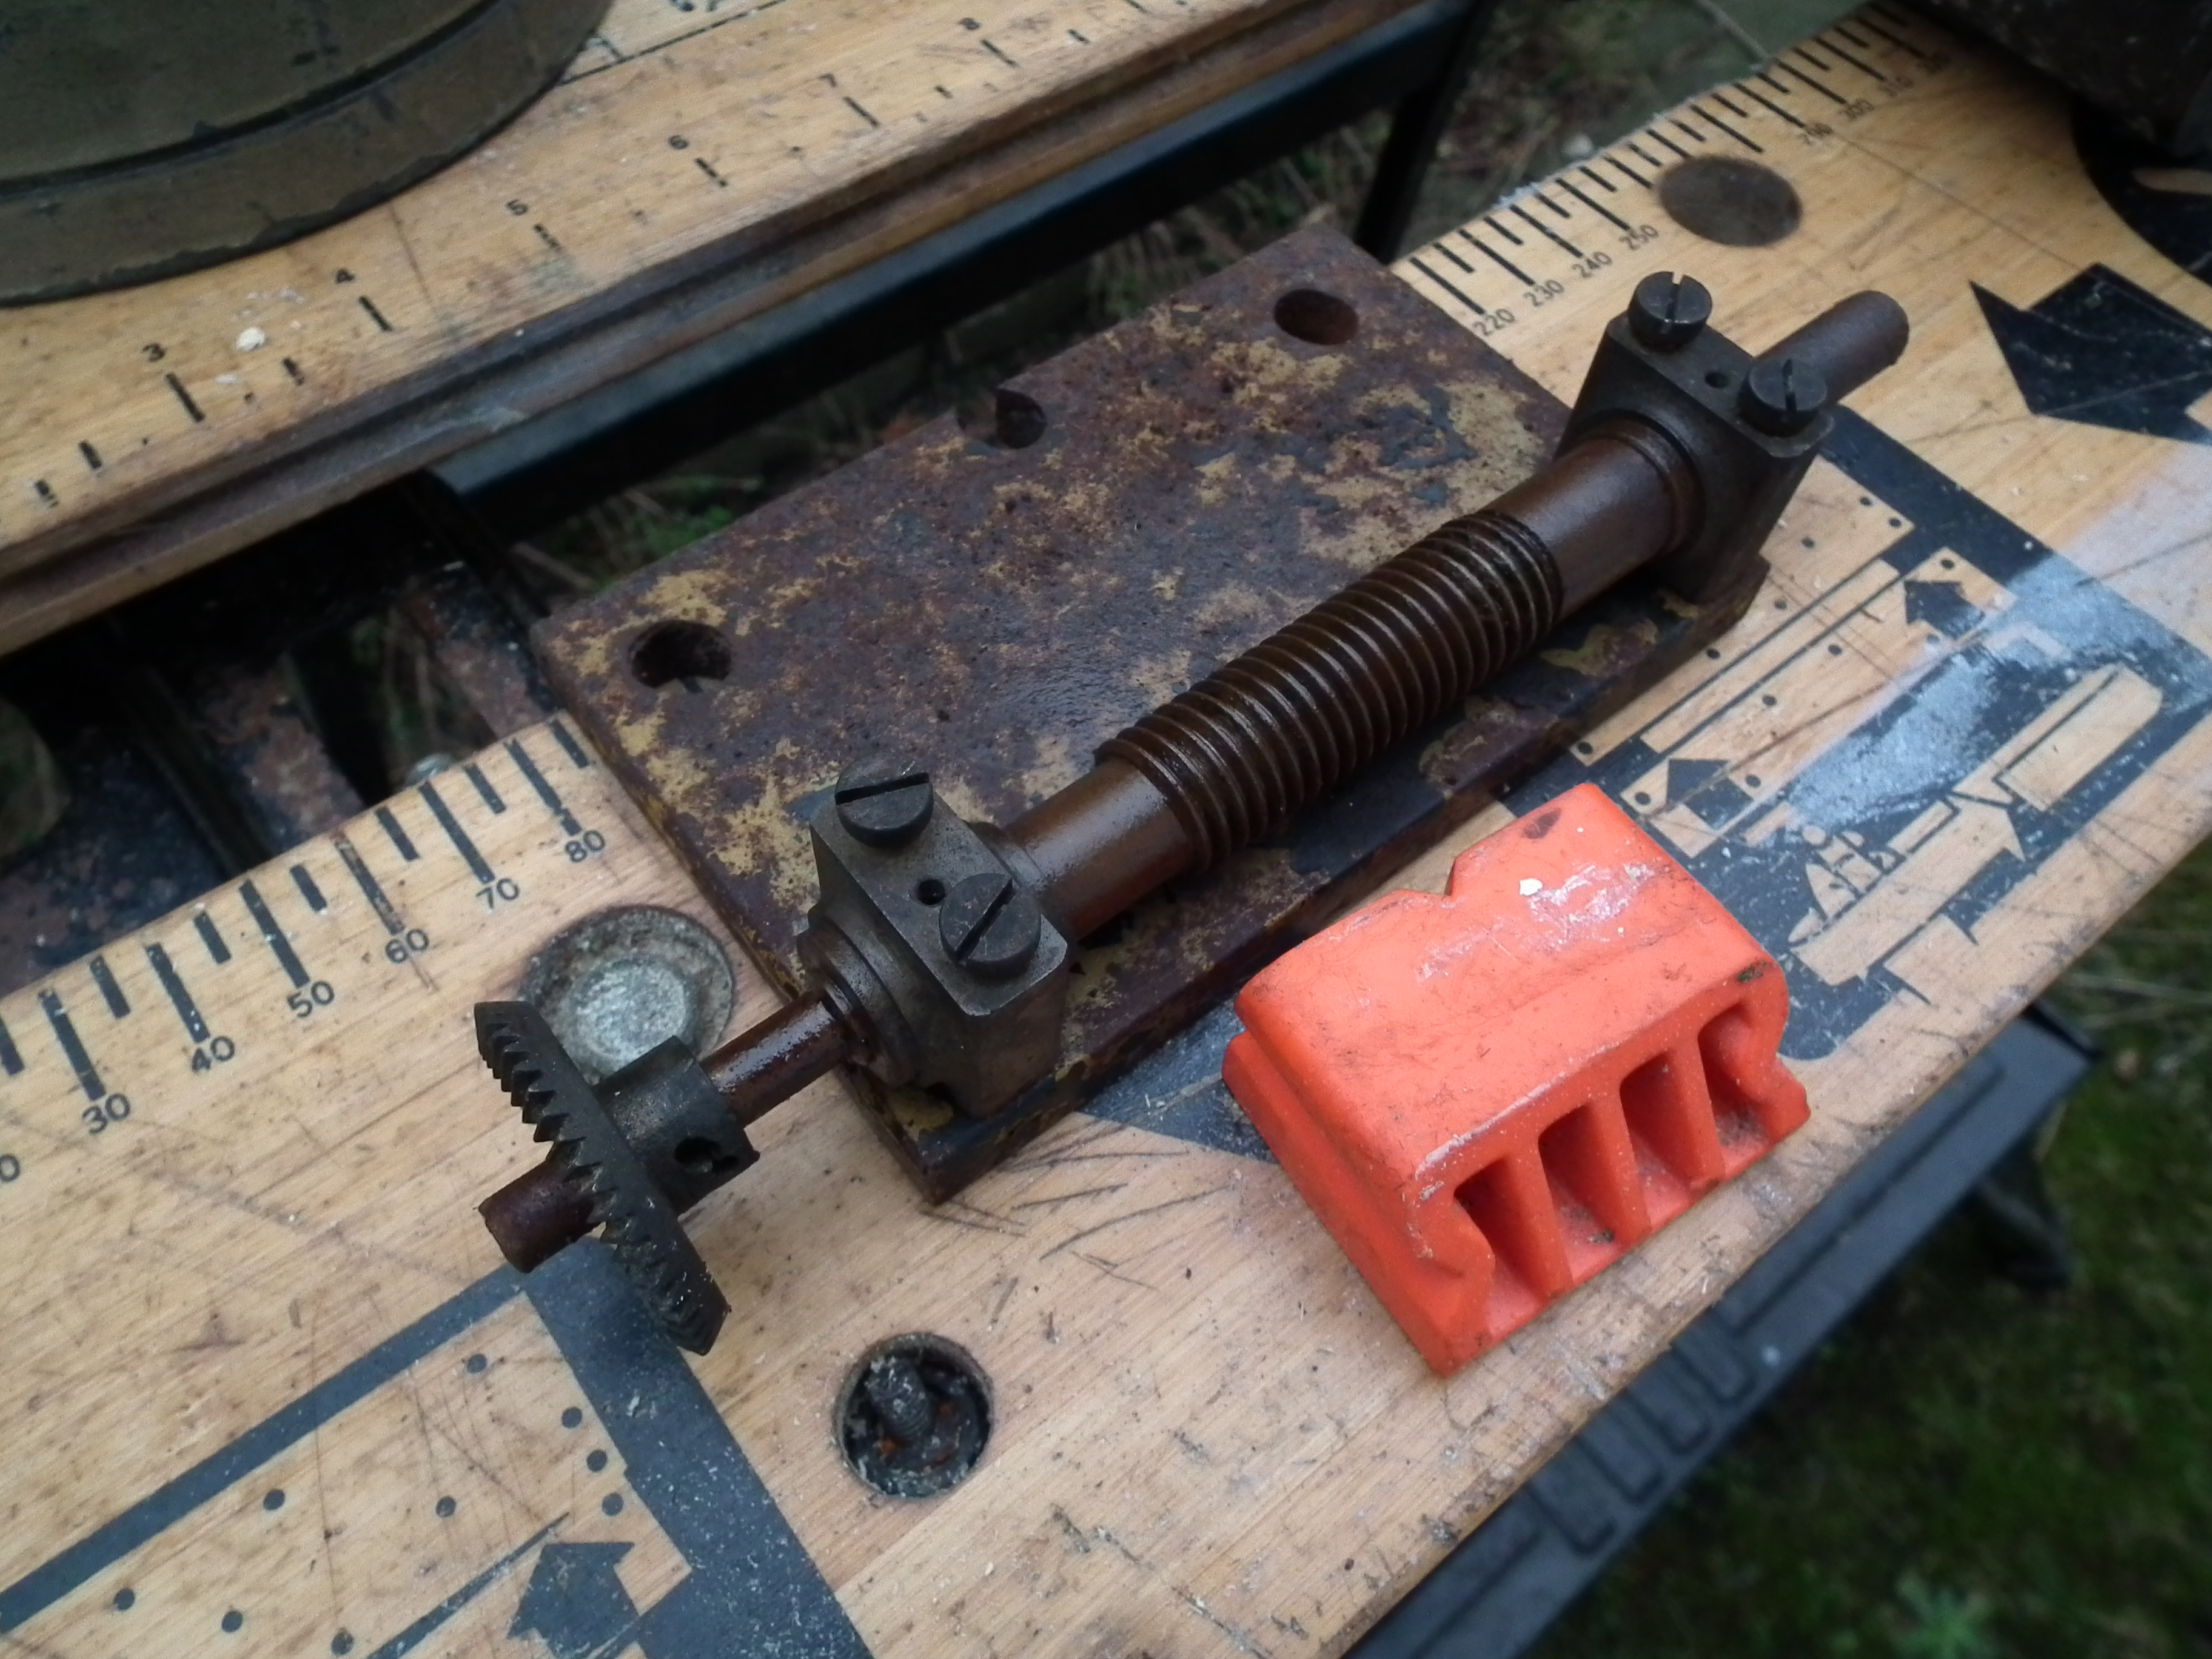
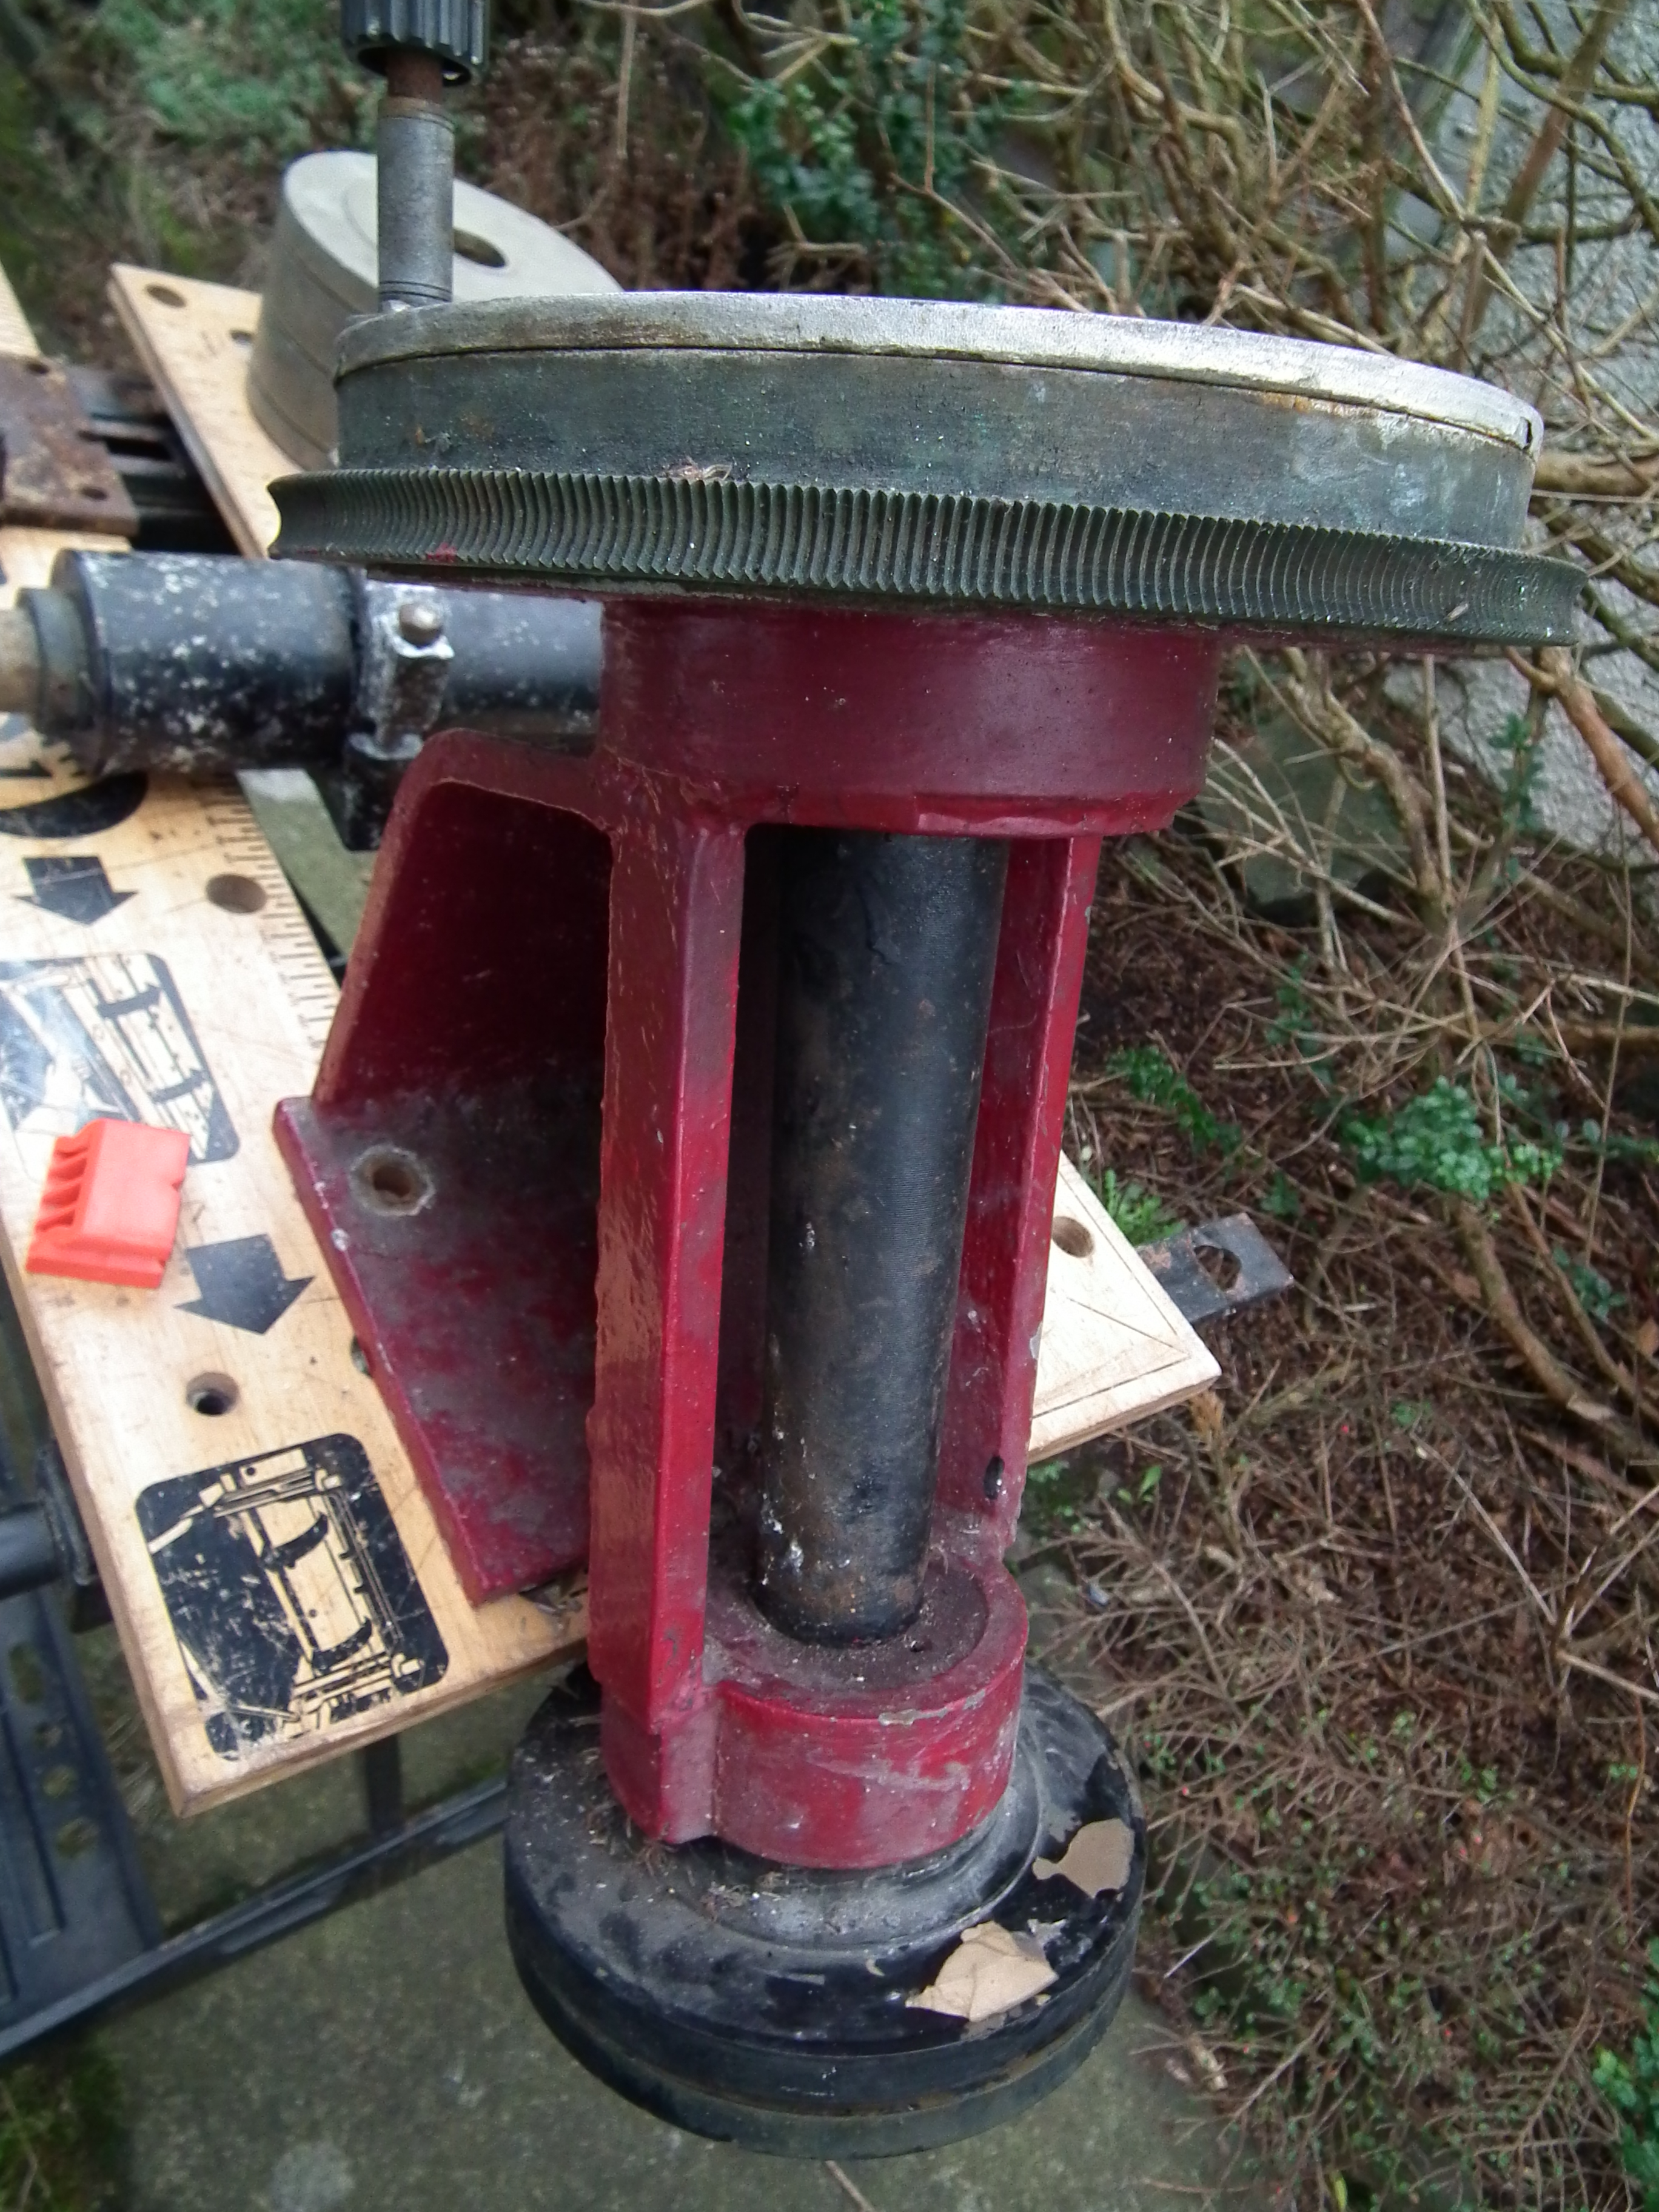
I found these strange items in the box…..some sort of Knife edge testing aparatus??

I have an idea…..(it’s an old one……)

IMG_3550

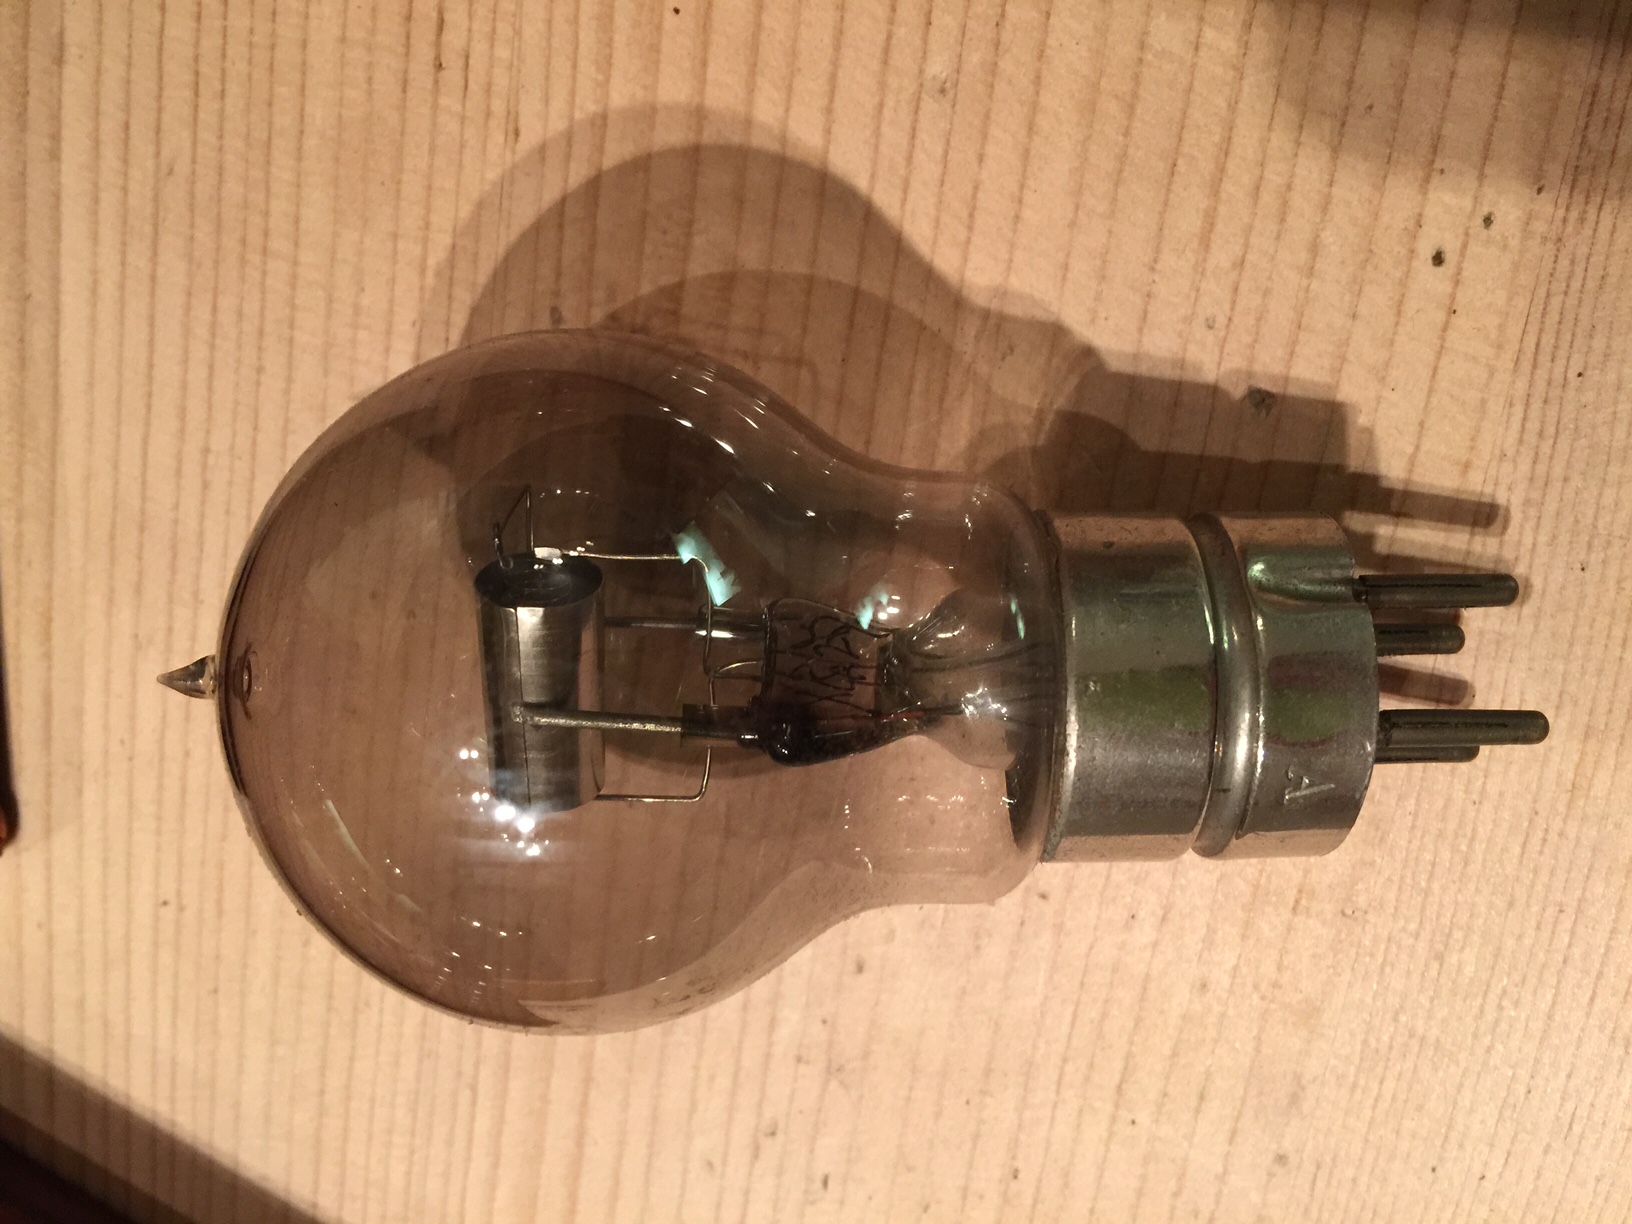
This old light-bulb was in the box too. I can only assume it once would have had a home in the observatory. I’ve had a bright idea though. With a good variable power supply and a couple of croc clips this light might just get switched on again for the first time in over 50 years, an illuminating experience to be sure.

Time to crank up the lathe and make a few adapters for those weird sized eyepieces. Jupiter’s Great red spot may once again pass through those old oculars. Imprisoned in a box they will no longer be!!!


Strip! And show me what you’ve got!!!

Stripping down the RA and DEC (right ascension and declination) bearings

After much hand wringing, anxiety and head scratching  I though I’d give stripping down the bearings a shot. The Declination Axis seemed the easiest to begin with, being attached to the face plate of the head. A few hidden and painted over Allen key grub screws located and loosed and it a disassembled without too much fanfare.

IMG_3247 IMG_3250The brass on brass bearing surfaces seem to all be in good condition. The old solidified, waxy grease was removed with methylated spirits and a new synthetic low viscosity grease was applied. I dropped the bottle of meths all over my wooden  surfaces and unfortunately my workshop now smells like a solvent factory. Tasty.

So it’s all reassembled and turning with only a fraction of the force needed before so it should rotate nice and smoothly with 30KG of OTA attached to it. There is corrosion on the steel shaft that was exposed between the counterweights and the bearing housing but it’s well greased so shouldn’t need turned down in a lathe.

Two simple clamp rings fix the DEC axis to the equatorial head so it’s a 5min job to remove and refit.

A notable point is brass on brass bearing is technically self lubricating and requires no grease but since there’s the steel shaft mating with the brass I applied it to all surfaces. It will no no harm unless dirt ingress becomes a problem at which point the brass can become scored or damaged. As the sealing is very good I’ve got no such concerns.


The RA bearings were a little more problemsome. I was barely able to spin the RA gear as it was so badly seized up. The various collars were exceptionally hard to remove having been in place many decades. However with a little bit of gentle persuasion and some tricks I learned from Uri Geller I eventually got it all apart. The shaft took a fair old smack with a piece of wood and a lump hammer to free it from the bearings.IMG_3272

Again the old grease and waxy deposit was removed, the entire assembly greased and rebuilt and it all spins more smoothly than a politicians tongue. For an 80 year old scope the mechanics are surely in very good condition. Job well done.

At 40KG all in it is a beast to handle. The mechanics dealt with I will have to have a careful thing how I treat and protect the outer surfaces. Areas where he paint has flaked off  the brass may well need stripped completely and repainted or lacquered which may necessitate another complete strip down, but this is now a job that will take minutes as all stubborn parts are freed.


A new home, a new hope , a new life!!!

The 1930’s Newtonian Dismantled and Transported.

img011


After the reccy to figure out what tools to take and how to dismantle and transport the telescope safely I set off with some excitement to Glasgow fully prepared for the take down and  transport of the old scope. To safely transport in the car I built a frame for holding both the stripped down OTA (15kg) and the substantial 35kg equatorial head (not including counterweights or DEC shaft). It is with some sadness I was unable to transport the observatory dome as it was still watertight. But it will get a brand new house anyway.

We did actually try to remove some/all of the concrete pier but the demolition equipment we brought just wasn’t up to the task. But that’s moot really because neither was my car’s suspension. I’ll pour my own concrete founds I think….

DSCF7433 DSCF7423


At 1.75m long It was a tight squeeze getting the OTA tube in the car.

The mirror cell, Finderscope and secondary/spider were stripped out and safely stored before removing the scope from the mount.

The Equatorial head (set for about 55degN) safely bolted to the frame otherwise considerable damage to my car would have been certain!!


The worm gear and 11in gear-set looks considerably tarnished but they still turn smoothly and with some careful cleaning and TLC I should be able to restore them fully. The RA shaft will be stripped out completely along with the clutch for a full service.

DSCF7426DSCF7427


The DEC shaft is a bit stiff to turn but again will be stripped down and serviced. All in all it’s a very solid equatorial mount and capable of supporting a much greater load than the 25Kg total OTA weight. The OTA is solid plywood 12mm think with a window for access to the mirror. The focuser as a 2in rack and pinion. I’m not sure if I can save the focuser or not….it may need replaced with a modern crayford type. The finder scope looks to be a 7×40 with erecting prism, bound with a leather tube!! The DEC shaft with counterweight is another 35kG. In total it’s around 100Kg to mount on a pier.

So it’s all tucked safely away with it’s new owner (me) in my workshop. I haven’t decided what order the refurbish is going to happen but before that happens I think I’ll sit down with notepad and pencil, some strong coffee with some Jean Texereau to guide me on this adventure…………………