4″ F8 Newtonian


My first ever incarnation was a scope with a 100mm mirror and a 25 mm secondary. Construction was pretty basic: 12mm wooden dowels held in 9mm MDF hexagonal sections. The primary mirror was held onto a sprung cell using double sided sticky tabs. The secondary was glued to the pole with epoxy ( I thought astigmatism was something that got stuck in your eye!). Collimation was achieved………no actually collimation was not achieved. The focuser would have been more at home on a victorian microscope. All this criticism, but in actual fact I still managed to see 2 belts on jupiter, 1 galaxy and the moon. I hasten to add this was in heavy light pollution on top of my parents’ garage tar roof which was still hot from the days’ sun. I “finished” this telescope in 1995. It was accidentally mistaken for a gardening implement and had a baby oak tree planted in it. (only joking).
8.75 F7.2 Dobsonian
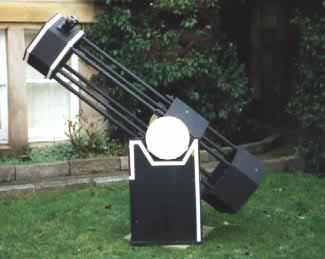
My second scope used the same format as the last, as the design didn’t have any major problems. The main difference however was the fact that the upper assembly, being smaller, collapsed into the lower assembly. This was so that I could get the tube into a smaller
storage place and cars easily. The two parts were held together
with bolts and wing nuts through th 25mm wooden dowels which
formed the skeleton of the frame.Other than that the rest of the scope was pretty bog standard. However at around 30Kg the scope was way too heavy, although it was rock solid and didn’t budge in a strong wind. Actually that was also a problem…….
The mirror cell was made from two sprung plates. Notice that the position of the collimation and support bolts were at about 75% radius. These were of course pre Plop days. I’m still not entirely convinced that 3 point cells should have supports at 40% radius however. Only expertimentation will prove this point. The cell is held to the mirror box via 3  steel shelf brackets. I’m actually ashamed to admit that when I first built this scope, the primary was epoxied to the disc of wood!!!! The diffraction images I got out of focus were distorted beyond recognition and I couldn’t understand why, until I read ‘How to make a Telescope’ by Jean Texereau a year later. It took me a while to get the mirror safely off the disk of wood and put in place proper supports.
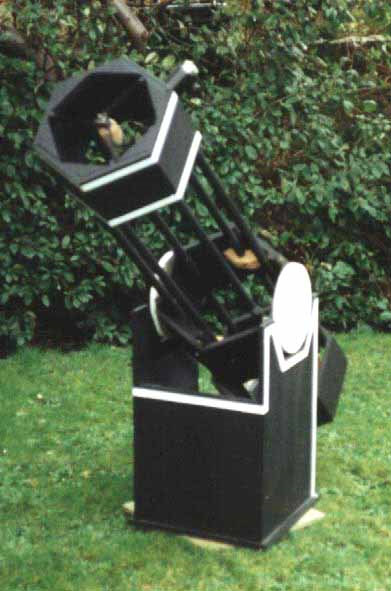 All parts on the rocker box and tube are 18mm MDF. Yes very heavy! The bearings were actually quite poor performers. The reason was I used a smooth laminate for the bearing surface against teflon. This led to a sticky start in movement when tracking and slewing. Once it was started though it was buttery smooth (I actually tried vegetable oil aswell).The Spider had 3 vanes. I like three vanes for some reason. In fact Most of my scope designs use
60 and 120 degree angles. It somehow seems asthetically pleasing.
When completed the telescope was varnished on the outside surfaces to give a nice deep black look. The white trim was painted on the extremities to make the outline of the scope obvious in the dark.
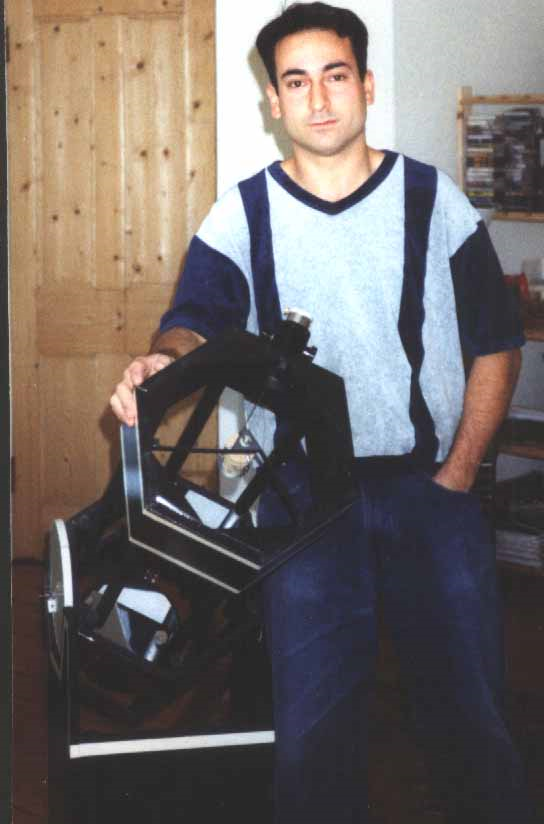 This is me. Marco. The telescope was finished in late 98′. It was actually quite a feeling too have achieved this. I just wish that I had had more use out of the scope. I had no car at the time and live in the centre of Edinburgh. On the street however on excellent nights
I was able to push te scope to x340 with very crisp images in
moments of good seeing. Cassisni division was starkly obvious
and the moon was jaw dropping. The limiting magnitude in the city is about 4.5 – 5. On very cold nights in february though, the orion nebula would show a surprising amount of detail.
The scope was later put to a better use as I sold it to a cub scout leader for the cubs, who would use it in much darker skies. If you
are reading this, how is the scope doing?
